
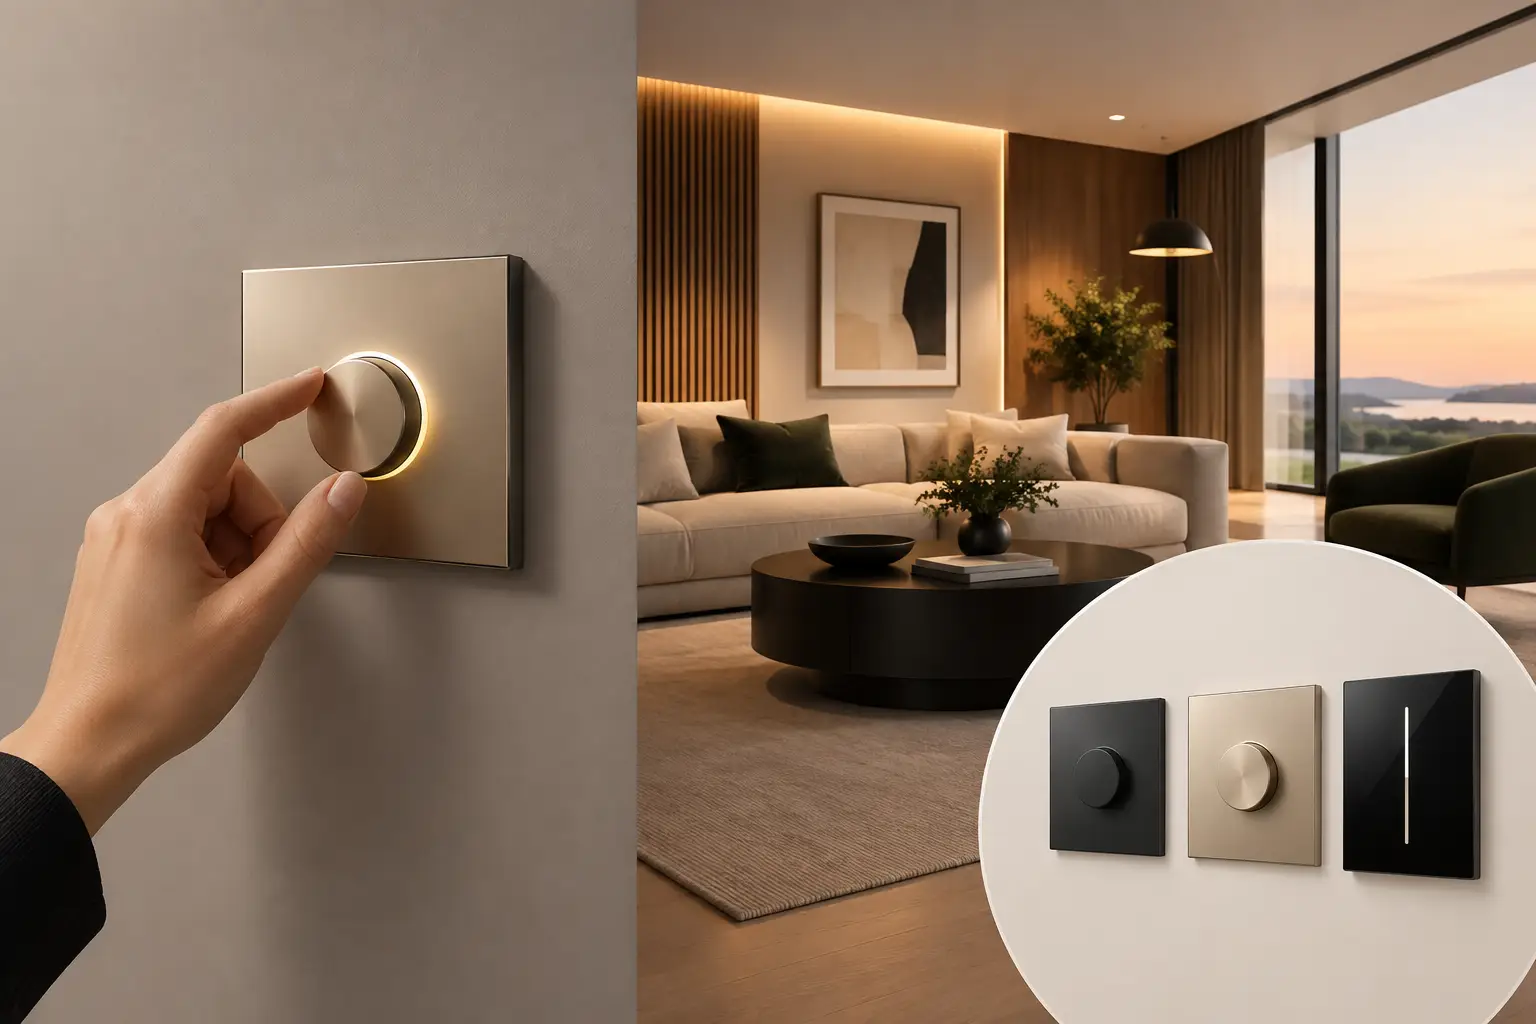
How to Specify Luxury Dimming Panels Well
A beautifully composed room can be undermined by a crowded bank of generic switches at the entry. For architects, designers, and homeowners, learning how to specify luxury dimming panels means treating the control interface with the same care given to millwork, hardware, stone, and decorative fixtures. The panel is not an afterthought. It is the point where a sophisticated lighting design becomes easy to live with.
The right solution balances visual restraint with technical depth. It should support the lighting loads, suit the architecture, give occupants clear control, and remain flexible as the project evolves. That requires decisions well before finish selections and drywall.
Begin with the Lighting Experience, Not the Keypad
The first question is not which panel finish looks best. It is how each space should feel and function at different times of day. A formal dining room may need a welcoming arrival scene, a bright setting for entertaining preparation, a candlelit dining level, and a late-night pathway. A kitchen needs practical task light while preserving the warmth of its decorative pendants. A primary suite benefits from quiet bedside control and an effortless nighttime route to the bath.
This scene-based approach prevents a common luxury-project mistake: assigning a separate button to every fixture. More buttons do not create better control. They often create hesitation. The goal is to group layers of light into meaningful scenes that correspond to the way a room is actually used.
Before selecting a panel, establish the lighting intent room by room. Review ambient, task, accent, decorative, and exterior lighting as distinct layers, then determine which layers should respond together. This coordination is most effective when the lighting designer, interior designer, electrical team, and control integrator are involved early.
Define the daily moments that matter
A panel should make the common moments immediate. Consider arrival, entertaining, dining, reading, cooking, cleaning, bedtime, away, and nighttime circulation. In a hospitality setting, translate those moments into opening, service, private event, cleaning, and closing modes.
Not every room needs the same degree of control. A secondary closet may need straightforward occupancy-based lighting, while a great room may deserve carefully tuned scenes and a discreet wall station that can also coordinate shades, fireplaces, and audio. Luxury is not measured by the number of features on the wall. It is measured by whether control feels natural.
Select a Panel Architecture That Fits the Project
Luxury dimming panels generally fall into two categories: centralized and distributed. Either can be appropriate, but they affect electrical planning, wall aesthetics, service access, and future adaptability.
A centralized system places dimming modules in dedicated equipment enclosures, often located in an electrical room or other serviceable area. The wall control becomes a low-voltage keypad or touchscreen rather than a collection of line-voltage dimmers. This approach can create exceptionally clean walls, reduce heat and noise in living spaces, and allow one elegant keypad to control several lighting zones.
Distributed controls place dimmers or control modules closer to the loads, commonly in wall boxes or local panels. They can be a good fit for smaller renovations, guest houses, or projects where wiring constraints make centralization impractical. The trade-off is that each location may require more physical space and more visible devices.
The best choice depends on project scale, construction conditions, desired integration, and the client's expectations for future change. A large estate with many lighting layers, motorized shades, landscape zones, and extensive scene control often benefits from centralized architecture. A focused renovation may be better served by a refined distributed system designed with equal care.
Reserve space for the infrastructure
A luxury dimming system needs more than attractive wall controls. Dedicated panel locations, ventilation where required, clear service access, power planning, network coordination, and pathways for low-voltage wiring should be considered during design development.
Do not treat the equipment enclosure as leftover space. Its location influences wire runs, installation labor, long-term service, and the ability to expand. Keep it accessible, organized, and protected from moisture or extreme temperatures. A thoughtfully planned control room is largely invisible to the client, yet it supports the dependable performance expected from a premium residence or commercial environment.
Specify for Load Compatibility and Dimming Quality
The visible panel is only as good as the dimming behind it. LED technology has made beautiful lighting more efficient, but it has also made compatibility more complex. Drivers, lamps, fixtures, and control types must be evaluated as a system.
Determine whether each load uses phase-cut, 0-10V, digital, forward-phase, reverse-phase, or another control protocol. Confirm the dimming range of the specified fixture and driver, not merely the range claimed by a lamp or control manufacturer. Some decorative fixtures dim beautifully to a very low level; others flicker, drop out, or produce audible noise if paired with the wrong dimming method.
Mockups are valuable for premium projects. Test representative fixtures with their actual drivers, selected control equipment, and intended trim levels. Observe the low-end performance, fade behavior, color consistency, and any visible stepping. This is particularly important with decorative pendants, cove lighting, plaster-in linear fixtures, and outdoor LEDs.
A well-specified system should also account for minimum and maximum trim settings. These adjustments prevent flicker at the bottom of the dimming range and can keep high-output lighting comfortable at full level. Proper calibration is where technical planning becomes visual comfort.
Make the Wall Interface Part of the Interior Design
Luxury dimming panels deserve a place in the finish schedule. Their material, color, button layout, engraving, and placement should support the interior rather than compete with it.
A minimal keypad in a matching metal finish may disappear into a contemporary entry. A custom engraved control with a tailored faceplate can complement traditional millwork. In some interiors, a dark finish creates intentional contrast; in others, a painted or tone-on-tone option preserves visual quiet. The correct choice depends on the architecture, surrounding hardware, and the client’s preferences.
Button count matters as much as finish. A compact, clearly labeled interface is usually more gracious than a dense array of small buttons. Use consistent naming throughout the property. For example, "Entertain," "Evening," and "Off" are clearer than a mix of technical zone names and decorative terminology.
Place controls where decisions happen
A panel should be located where a person naturally wants to make a lighting decision: at entries, beside the bed, near a dining room threshold, or at the transition to an exterior terrace. Consider sightlines, door swings, artwork, and wall composition before finalizing locations.
For large rooms with multiple entrances, provide control where it is genuinely needed rather than forcing occupants to cross the room. In bedrooms, bedside keypads can combine reading lights, room scenes, shade control, and a whole-home off command without introducing visual clutter.
Coordinate Panels with the Rest of the Home
The value of luxury control increases when lighting works in concert with the rest of the environment. A single scene can lower shades, set the room lighting, activate selected exterior lights, and prepare an entertainment space. An away command can turn off interior lighting while preserving the appearance and safety lighting appropriate for the property.
That does not mean every panel should control every system. Overloading the interface creates confusion. Keep primary actions local to the room and reserve broader actions for a few intuitive locations, such as the primary entry, primary suite, and an app or dedicated whole-home interface.
Security, generator-backed circuits, occupancy sensing, daylight response, and landscape lighting also require coordination. A sophisticated result comes from assigning each system a clear role, then programming the transitions so they feel composed rather than automated for automation’s sake.
Protect the Design with Documentation and Commissioning
A control schedule should document each lighting zone, load type, wattage, dimming method, panel assignment, keypad engraving, and programmed scenes. This document gives the electrical contractor, design team, and integrator a shared reference and reduces expensive field changes.
Commissioning is equally essential. After installation, scenes should be adjusted in the completed environment, ideally after furnishings, window treatments, and decorative fixtures are in place. Light reflects differently from pale stone, dark oak, textured plaster, and polished metal. The final programming should respond to the actual room, not only the drawings.
Techlinea approaches this stage as both a technical and aesthetic review, confirming that the system performs reliably while the lighting supports the atmosphere the project was designed to create.
A luxury dimming panel succeeds when no one has to think about it. The homeowner simply enters a room, chooses a familiar scene, and sees the architecture at its best.


Comments